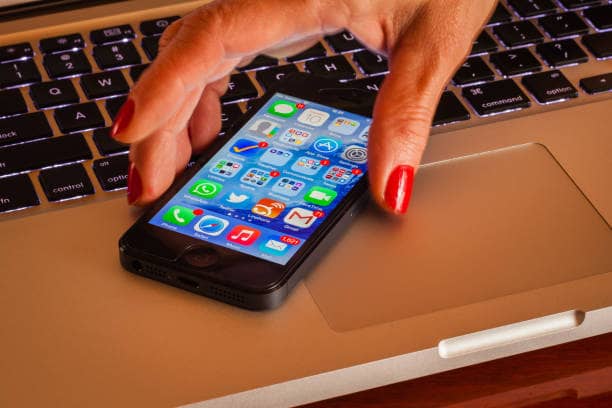
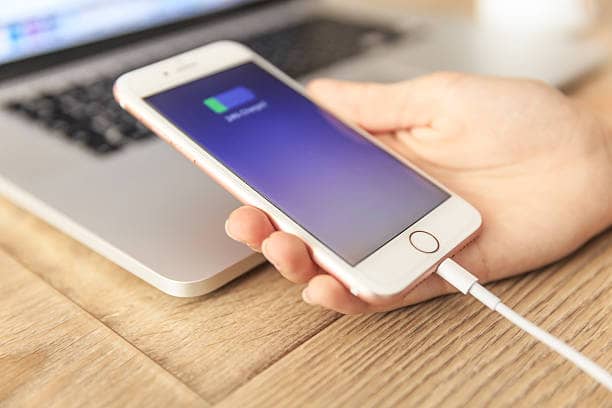
There comes a time when you want to free up space on your iPhone or simply organize your ever-growing photo library on a larger screen.
Thankfully, transferring photos from your iPhone to your computer is a straightforward process with several methods to choose from. This guide explores the most common ways to achieve this, catering to both Mac and Windows users.
Utilizing iCloud Photos (For Both Mac and Windows)
- Setting Up iCloud Photos: On your iPhone, navigate to Settings > Photos. Ensure “iCloud Photos” is enabled. This uploads your photos to Apple’s cloud storage.
- Downloading iCloud for Windows (Windows Users Only): Head to the official Apple website and download the free “iCloud for Windows” application. Install and launch the program.
- Accessing Photos on Mac: On your Mac, open the Photos app. It should automatically detect your iPhone and display any photos uploaded to iCloud. You can import these photos directly into your Mac’s Photos library.
- Accessing Photos on Windows (With iCloud for Windows): Once you’ve installed iCloud for Windows, sign in using your Apple ID. Within the iCloud for Windows app, select “Photos.” Choose to “Download Photos and Videos” or “Optimize Storage” depending on your storage needs. Downloaded photos will be accessible in a designated “iCloud Photos” folder within your File Explorer.

Transferring Photos Using a USB Cable
- Connecting Your iPhone: Connect the cable with your iPhone to your computer’s USB port. You may be prompted to “Trust This Computer” on your iPhone screen. Grant permission to proceed.
- Accessing Photos on Mac: Your Mac should automatically recognize the connected iPhone. A pop-up window may appear with import options. Choose “Import All New Photos” or select specific photos for transfer. The photos will be saved in a new folder within your Pictures library.
- Accessing Photos on Windows: Open File Explorer and navigate to your iPhone under “This PC” or “Devices and Drives.” You’ll typically find a folder named “DCIM” containing your photos. Drag and drop desired photos to a designated folder on your computer.

Additional Methods
- AirDrop (For Mac Users Only): If both your iPhone and Mac are connected to the same Wi-Fi network and Bluetooth is enabled, AirDrop allows for a wireless transfer of photos. Simply select the photos you want to transfer and choose the AirDrop icon to share them with your Mac.
- Third-Party Photo Management Apps: Several third-party apps offer photo transfer functionalities with additional features like editing and organization. Explore options available on the App Store or Google Play Store, keeping reputable developers and user reviews in mind.
Important Considerations
- File Size and Quality: When transferring photos, be mindful of their file size and the desired quality on your computer. Large, high-resolution photos will take up more space. Some methods may offer options to optimize storage by reducing file size upon transfer.
- Organization: Decide on a folder structure on your computer to organize your transferred photos. This will make them easier to locate and manage in the future.
- Backup Options: While transferring photos, consider creating a backup on an external hard drive or cloud storage service for added security and redundancy.

By following these steps and considering the additional tips, you can effortlessly transfer your precious memories from your iPhone to your computer, freeing up storage and keeping your photos organized and accessible.
For other learning tips click here
Discover more from KillCheap
Subscribe to get the latest posts sent to your email.


